




A flawless PPF or window tint install is half skill, half having the right tools and fluids on the bench. The wrong squeegee leaves streaks; the wrong slip solution kills adhesion or causes lifting. This guide covers every essential PPF and window tint installation tool — and the professional install solutions that separate an amateur job from a lifetime-warranty finish.
The 30-second version
- Slip to position film, gel for controlled slip on big panels, tack to lock edges & dot-matrix down.
- Your core kit: a felt-edge squeegee, sharp hook blade, tucking tool, variable heat gun, and the right fluid.
- The fluid is what most amateur installs get wrong — skip the baby shampoo.
The essential PPF & window tint tool kit
Whether you install film full-time or you are building your first kit, these are the tool categories every pro carries:
| Tool | What it does | Why it matters |
|---|---|---|
| Squeegees & hard cards | Push out slip solution & air | Streak-free, bubble-free finish |
| Felt-wrapped & buffer cards | Final squeegee over film/tint | Prevents micro-scratches |
| Hook / snap blade knife | Trim film and tint edges | Clean, safe cuts without scoring paint |
| Tucking tools | Push film into panel gaps | Wrapped, invisible edges |
| Heat gun / steamer | Conform film to curves | Stretch without stress marks |
| Install solutions | Slip, tack & gel fluids | Positioning, adhesion & no lifting |

Squeegees & hard cards
Your squeegee is your most-used tool. For window tint, a firm rubber blade with a felt-wrapped edge glides over delicate film without scratching. For PPF, a softer gel-edge squeegee moves slip solution out from under thick film. Most installers keep several durometers (hardness levels) on the bench for different panels and film thicknesses. A good tint squeegee and a set of hard cards are the foundation of a streak-free install.
Cutting & tucking tools
Precision trimming protects both the film and the paint. A sharp hook blade or snap-off knife lets you cut film on the panel without scoring the clear coat, while tucking tools push edges cleanly into door jambs and panel gaps so the film disappears. Dull blades tear film and cause lifting — always run a fresh edge.
Heat guns & steamers
Heat is what lets film wrap compound curves. A variable-temperature heat gun softens PPF and tint so it stretches around mirrors, bumpers, and door handles without stress marks, and it activates the self-healing top coat on premium PPF. For rear windows and dot-matrix edges, controlled heat plus the right fluid is essential.
The install fluids that make or break a job
Tools position the film; the fluid decides whether it stays. This is where most amateur installs fail — and where our four professional solutions each solve a specific problem. Pick by the job:
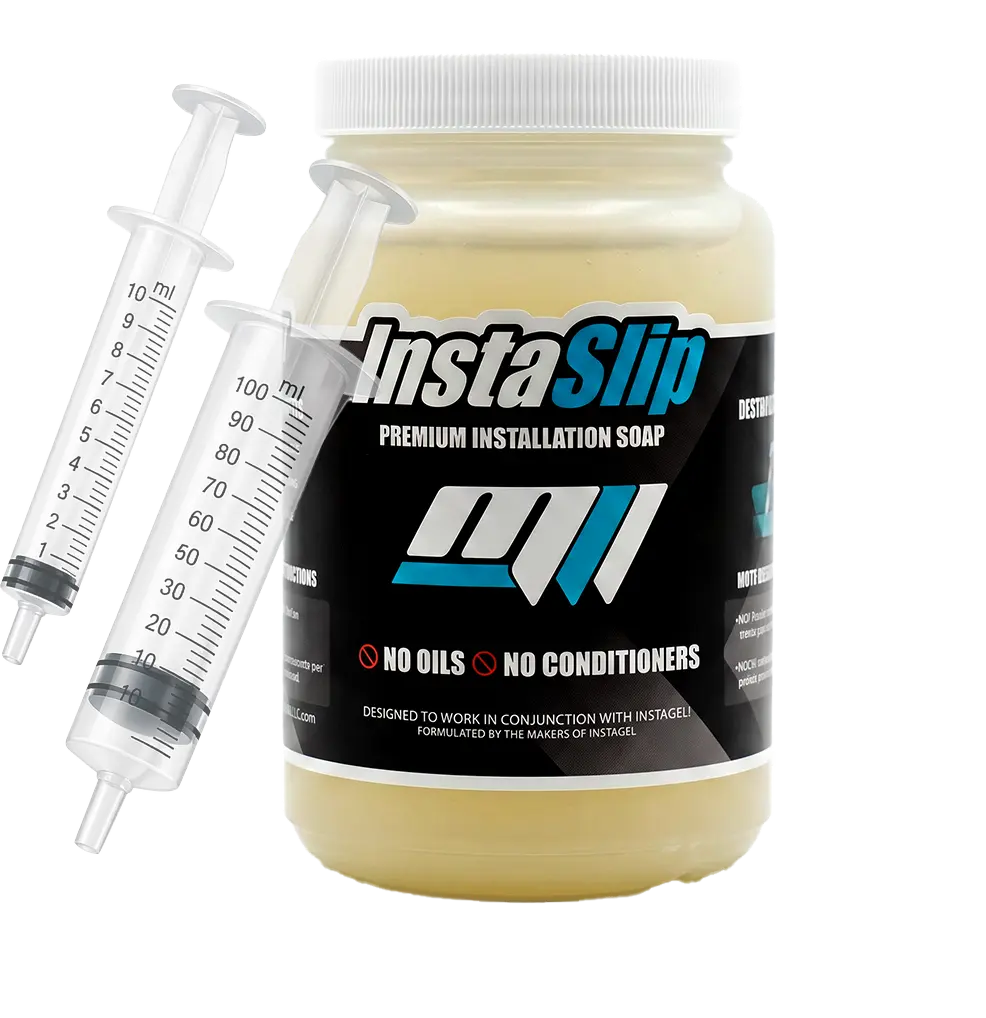 InstaSlip
Oil-free, conditioner-free slip. Slide film into position, then flush clean with zero residue.
$23.99Shop →
Installation Gel
InstaSlip
Oil-free, conditioner-free slip. Slide film into position, then flush clean with zero residue.
$23.99Shop →
Installation Gel
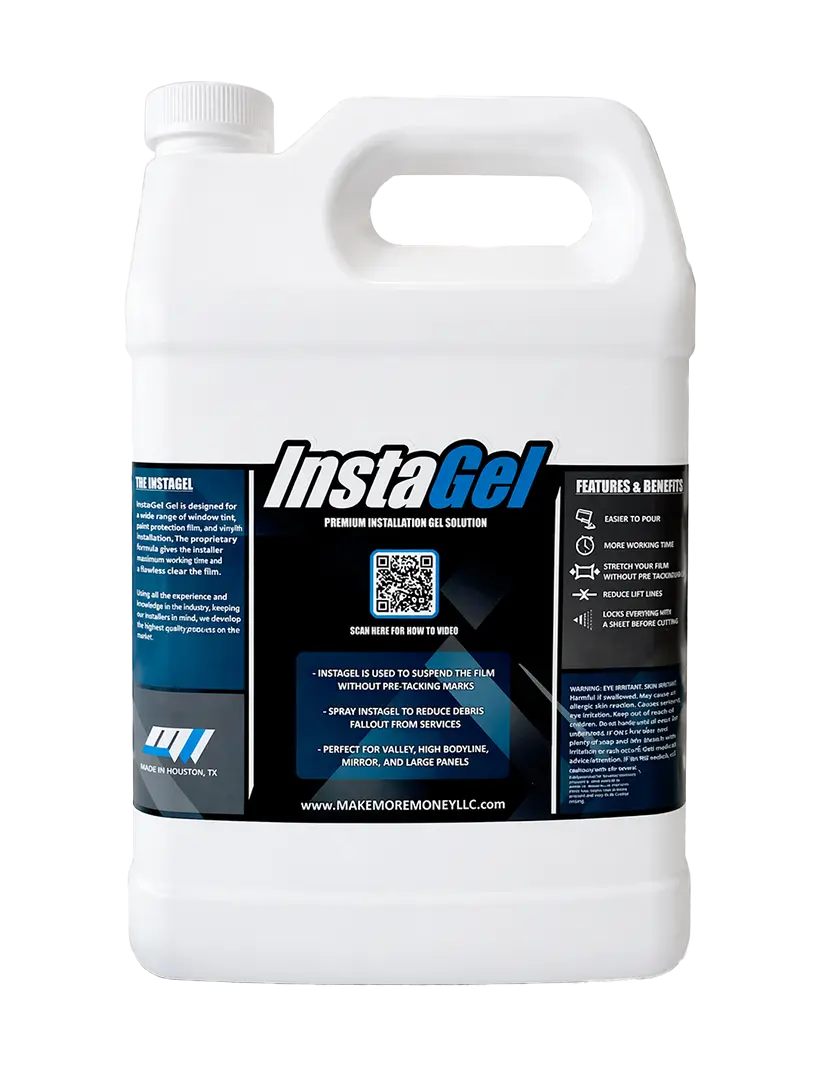 InstaGel
Controlled slip for large PPF panels — extended working time, no silvering, no lift lines.
$32Shop →
Tack Solution
InstaGel
Controlled slip for large PPF panels — extended working time, no silvering, no lift lines.
$32Shop →
Tack Solution
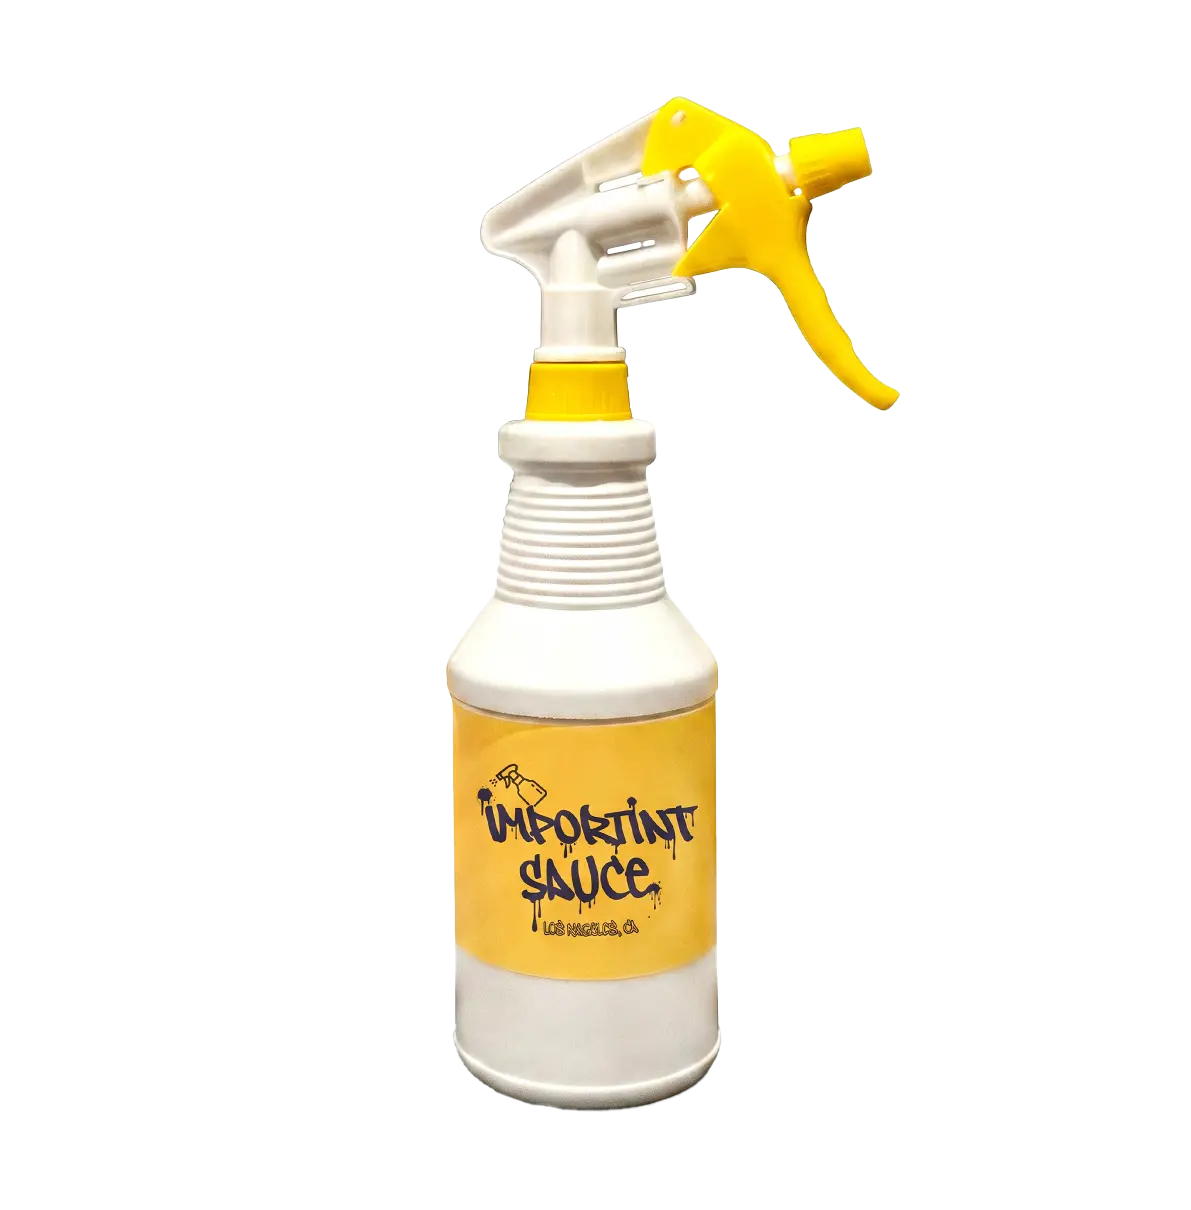 ImporTint Sauce
Makes edges grab. The go-to for dot-matrix borders and locking tint edges down.
$30Shop →
Tack Control
ImporTint Sauce
Makes edges grab. The go-to for dot-matrix borders and locking tint edges down.
$30Shop →
Tack Control
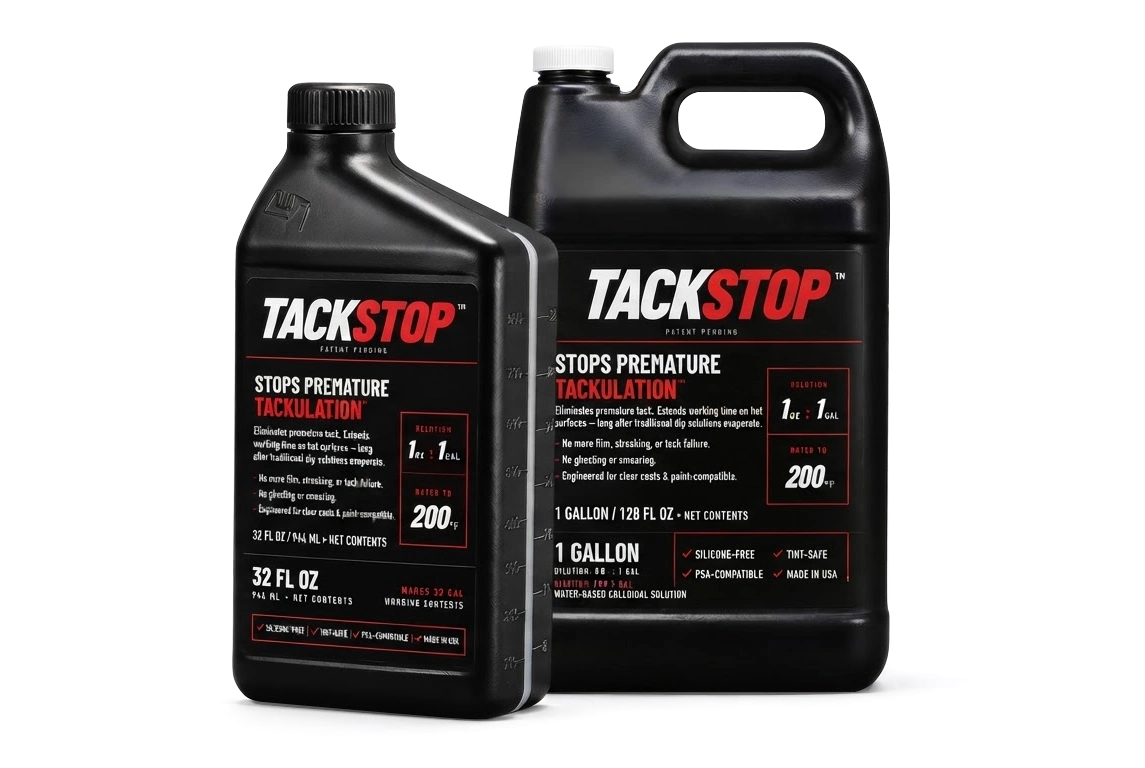 TackStop – Window Film Tack Control Solution
Stops premature tack on hot glass — 3–5× more working time in summer heat.
$27Shop →
TackStop – Window Film Tack Control Solution
Stops premature tack on hot glass — 3–5× more working time in summer heat.
$27Shop →
Slip solution lets you slide film into position before you squeegee. Installation gel gives controlled slip on big PPF panels with no lift lines. Tack solution does the opposite — it makes edges grab, exactly what you need over a dot-matrix border. And TackStop controls tack to stop film lifting on hot glass. Most pro shops keep all four on the shelf.
Slip vs tack vs gel: which fluid, when?
This is the question every new installer asks. The short version: use slip to position, gel for controlled slip on large panels, and tack to lock edges down. We break it down fully in these guides:
▸ PPF installation gel vs slip solution — which to use and when
▸ Slip, tack & gel install solutions — the complete comparison
▸ How to tint over dot matrix — the tack-solution technique
PPF & window tint tool FAQs
At minimum: a gel-edge squeegee, a sharp hook blade, a tucking tool, a variable heat gun, and a proper slip solution or install gel. Premium film plus a quality slip solution is what gives you a lift-free, self-healing finish.
Slip solution is a lubricating spray that lets you slide film into position before squeegeeing the fluid out. Without it, film grabs instantly and traps bubbles. InstaSlip is engineered for both PPF and tint and flushes clean with zero residue.
It is a common shortcut, but baby shampoo has additives and inconsistent dilution that can cloud tint, leave residue, and weaken adhesion. A purpose-made slip solution gives repeatable results and protects your warranty work.
A firm rubber blade with a felt-wrapped edge for the final pass. Keep multiple hardness levels for different panels, and replace felt edges regularly to avoid micro-scratches.
Edge lifting is a tack problem. Lock edges with a tack solution and use TackStop to control adhesion on stubborn borders and dot-matrix areas.
Build your kit at wholesale
Pioneers Distribution supplies installers across the USA with slip solution, install gel, tack solution, and the full range of PPF & window tint tools — at dealer pricing.
Shop Installation Tools & SolutionsReady to install? Follow our step-by-step PPF installation guide, and for tint choose the right film with ceramic vs carbon vs dyed window tint.