



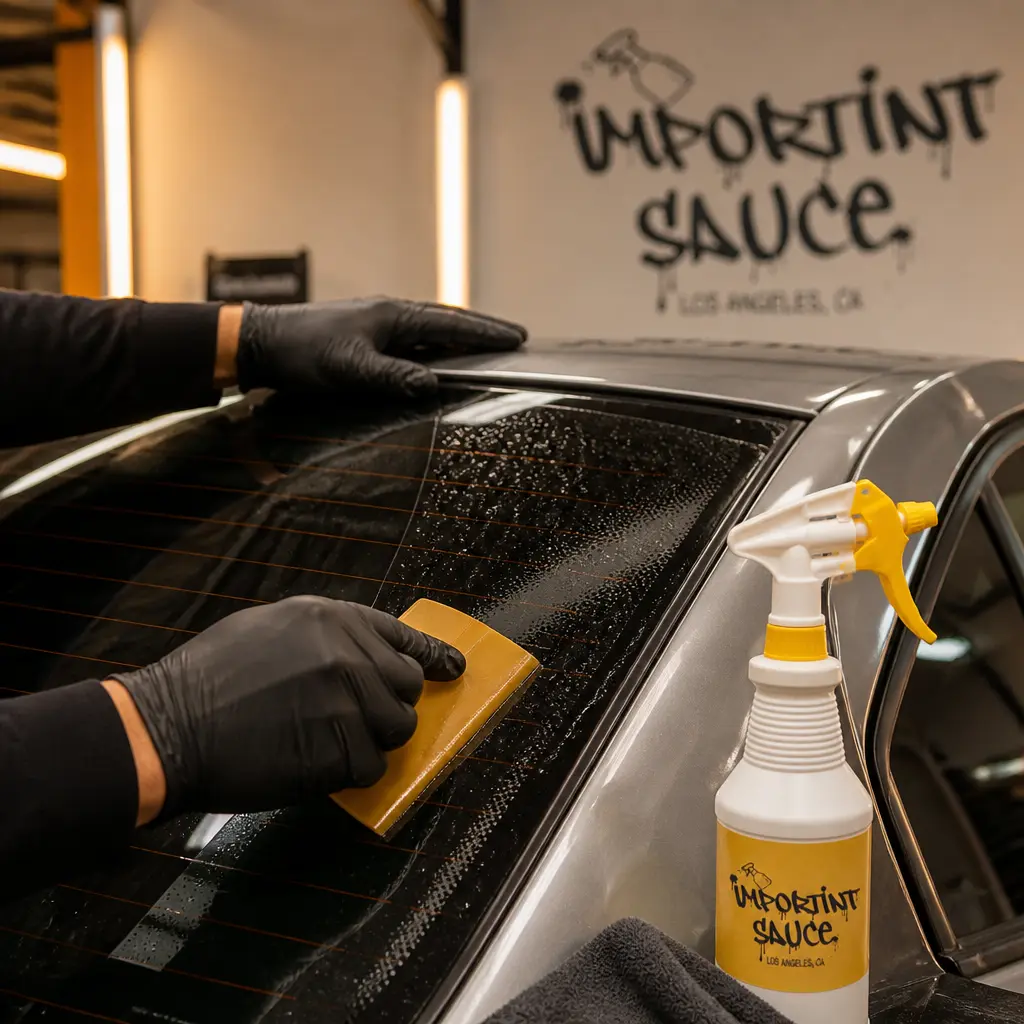
Learning how to tint over dot matrix is the biggest challenge in window tint installation. Those small black dots around the edges of car glass are there to bond the windshield to the frame. However, they create a real problem for tint work. Film lifts, silvering shows up, dirt creeps in, and a clean job turns into a callback.
What this guide covers
- What Is Dot Matrix and Why Does It Cause Problems?
- The Traditional Approaches (and Their Limitations)
- How to Tint Over Dot Matrix: The Tack Solution Approach
- How to Tint Over Dot Matrix: Step-by-Step with a Tack Solution
- Results: What to Expect
In this guide, we cover why dot matrix is so hard to work with. We also look at the common fixes and how the right tack solution changes everything.
What Is Dot Matrix and Why Does It Cause Problems?
The dot matrix is a band of small black dots printed onto the inside of car glass. You will find it around the edges of the rear window, the top of the front windshield, and sometimes on quarter windows. Basically, it is on almost every car you will work on.
The problem has two parts. First, the dots are made of a material that resists sticking. The tint film simply cannot grip the dots the way it grips bare glass. Second, the dots sit so close together that the film floats on top of them. It cannot reach down between the dots to touch the glass. As a result, tiny air gaps form under the film. These gaps show up as a white or silver haze when you look at the window from the outside.
The Traditional Approaches (and Their Limitations)
Professional installers have tried nearly everything to solve the dot matrix problem:
- Sanding the dots with 400-500 grit sandpaper to roughen the surface and improve adhesion. This works but is time-consuming, risks scratching the glass, and can cause rust in humid climates.
- Applying glue sticks or adhesion promoters like Rapid Tac 2 to the dot area before installing the film. These help with initial adhesion but often cannot prevent silvering from returning over time.
- Using black vinyl over the dot matrix area and butt-seaming the tint film to the vinyl edge. This eliminates the problem entirely but adds significant time and material cost to every job.
- Infrared curing the film after installation to drive out all moisture and improve the bond. Effective but requires specialized equipment. The International Window Film Association provides additional guidelines for professional installers.
However, each of these methods only fixes part of the problem. None of them deal with the root cause, which is the installation solution itself. Standard slip solutions are made to let film slide freely. But on dot matrix, you need the opposite. You need the film to stay put against a surface that fights sticking. In other words, slip is the enemy on dot matrix areas.
How to Tint Over Dot Matrix: The Tack Solution Approach
This is where a tack solution is completely different from a slip solution. Instead of making the glass slippery, a tack solution uses a thicker, sticky, water-based formula. It grips the film and holds it down after the first squeegee pass. In contrast, slip solutions let the film float and move around. This is the professional way to learn how to tint over dot matrix without sanding or using glue sticks.
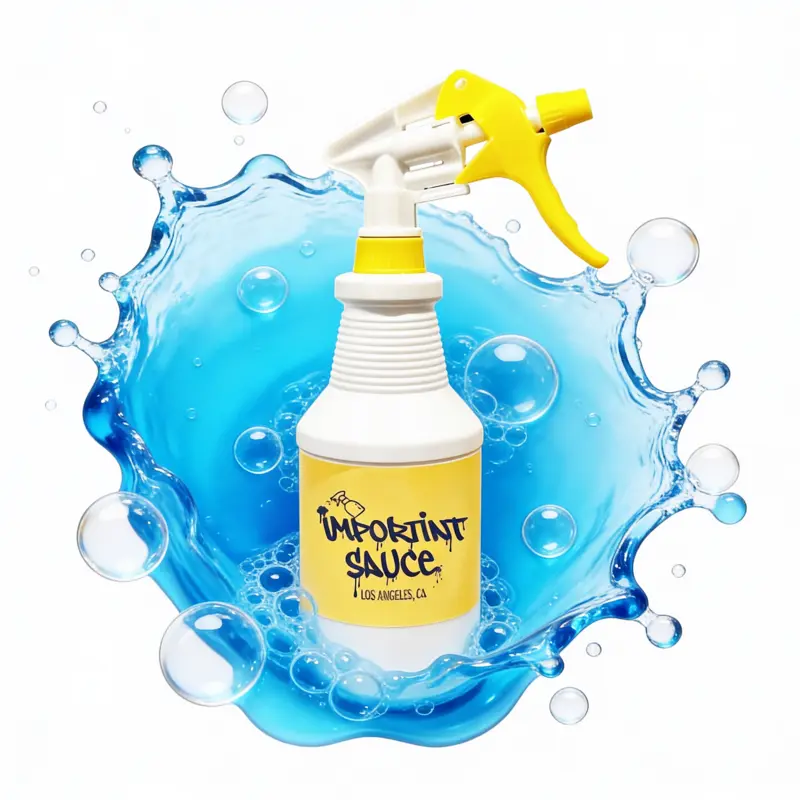
For example, ImporTint Sauce is a tack solution built for exactly this job. When you spray it on the dot matrix area, it stays in place. It does not run down the glass like soapy water does. The thick, sticky texture locks the film edges against the dots. Additionally, it keeps dirt, dust, and water from creeping back under the film. It also flattens stubborn dot matrix without sanding, so you can skip the abrasive prep in most cases.
How to Tint Over Dot Matrix: Step-by-Step with a Tack Solution
Here is the professional workflow for getting clean, lasting tint adhesion on dot matrix areas:
- Clean the glass thoroughly. Use a prep solution and scrub the entire window surface, paying extra attention to the dot matrix band. Remove all dirt, oil, and residue.
- Spray the tack solution onto the dot matrix area. Apply a generous, even coat across the entire dot band. Unlike slip solution, the tack formula will stay in place rather than running off.
- Position the film on the glass. Use your standard slip solution on the main glass area for positioning, but let the tack solution handle the dot matrix edges.
- Squeegee from center outward. Work the film down onto the dots with overlapping strokes. The tack solution holds the film flat against the dots after each pass, preventing it from lifting back up.
- Seal the edges. The tacky formula creates a barrier along the film edges, keeping dirt and water from getting back under the tint during the curing period.
- Allow proper cure time. Do not disturb the dot matrix area for at least 48 hours. The tack solution works with the film adhesive during curing to create a permanent bond.
Results: What to Expect
Overall, using a proper tack solution on dot matrix areas greatly reduces silvering and stops most edge lift problems. As a result, callbacks drop significantly. Furthermore, many installers who switch from sanding or glue stick methods find that their install times get faster too. This is because the surface prep step is either shorter or gone entirely.
Once you know how to tint over dot matrix with a tack solution, the process becomes faster and more reliable. Specifically, for quarter windows, deep seals, and french panes, keeping dirt out is critical. In these areas, a tack solution is not just helpful. It is essential.
Available from Pioneers Distribution
ImporTint Sauce comes in three options. The 24oz spray bottle is ready to use for everyday jobs. The 4 litre size is available as a jug or a refill bag, a cost-effective option for busy shops. Both are available at wholesale dealer pricing through Pioneers Distribution. Ultimately, once you master how to tint over dot matrix with a proper tack solution, you will wonder how you ever worked without one.
On hot rear glass the film can grab before you finish the dot matrix. A dose of TackStop tack control additive buys you extra working time in warm conditions.
The install solutions
Match the fluid to the job — most pro shops keep all four on the shelf:
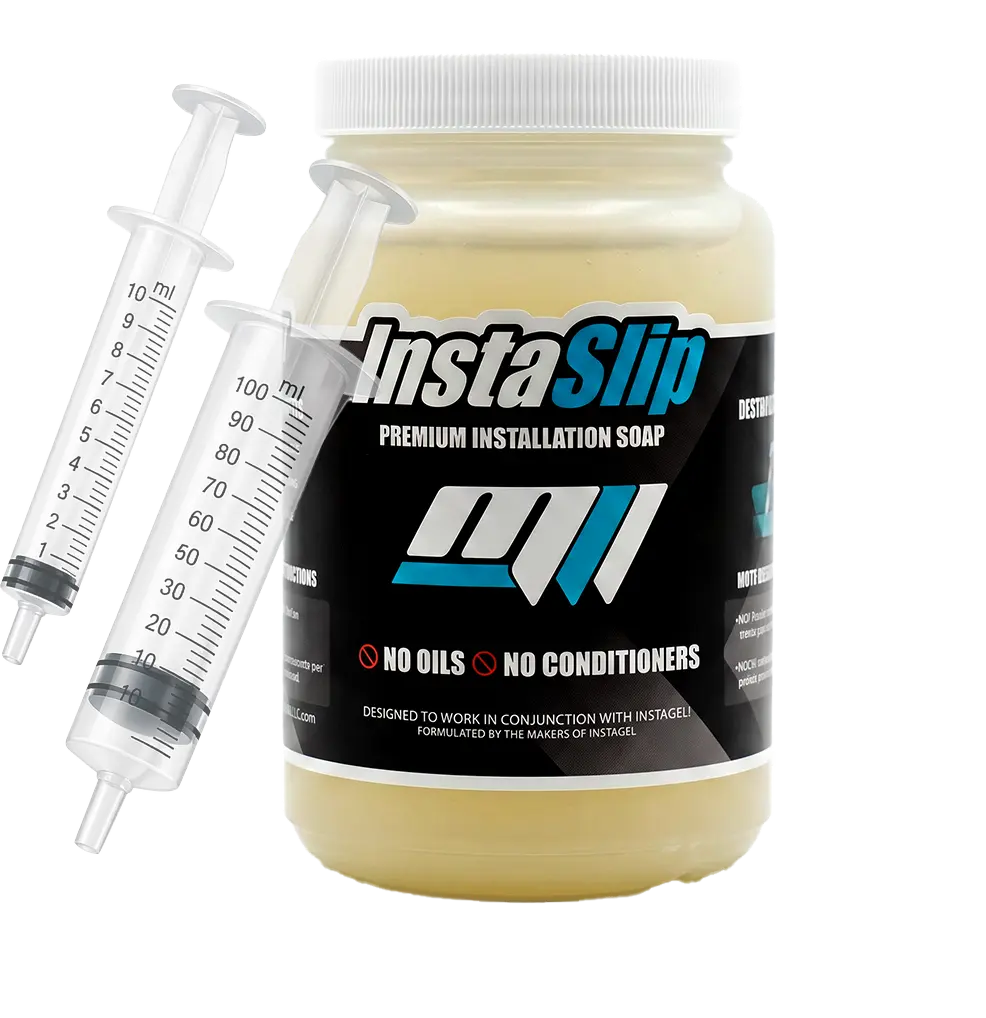 InstaSlipOil-free slip — slide film into position, flush clean, zero residue.$23.99Shop →Installation Gel
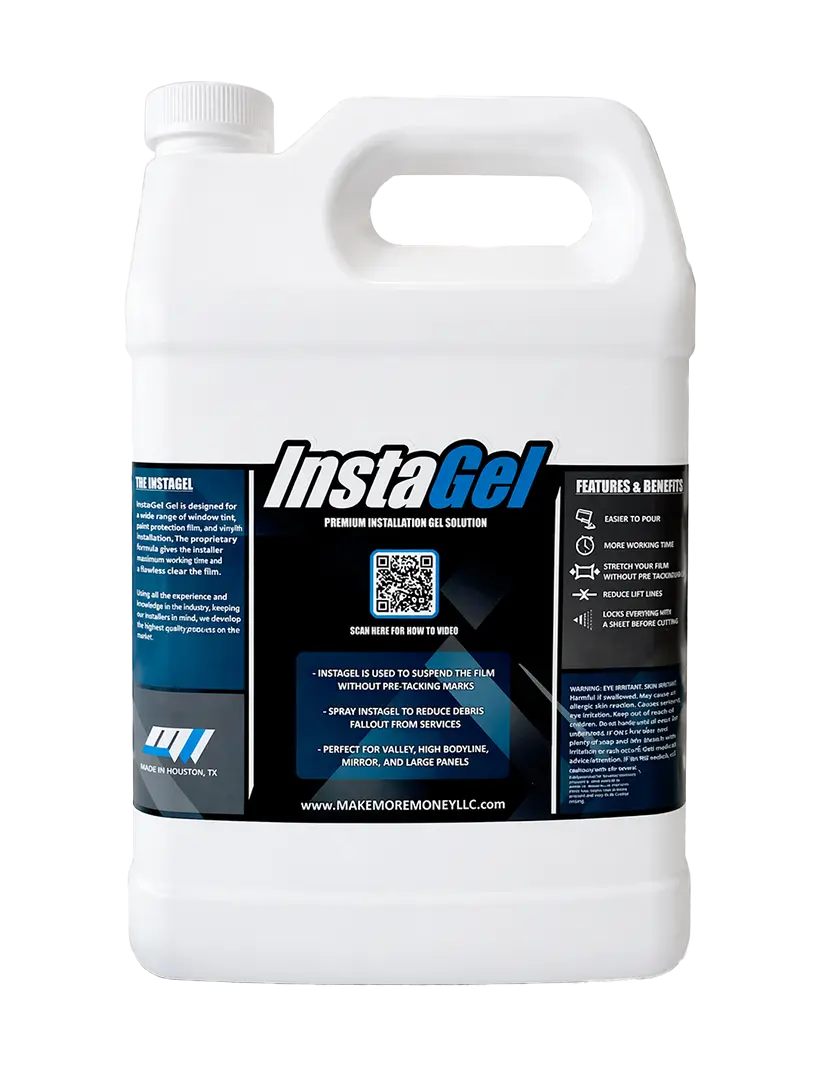 InstaGelControlled slip for big PPF panels — no silvering, no lift lines.$32Shop →Tack Solution
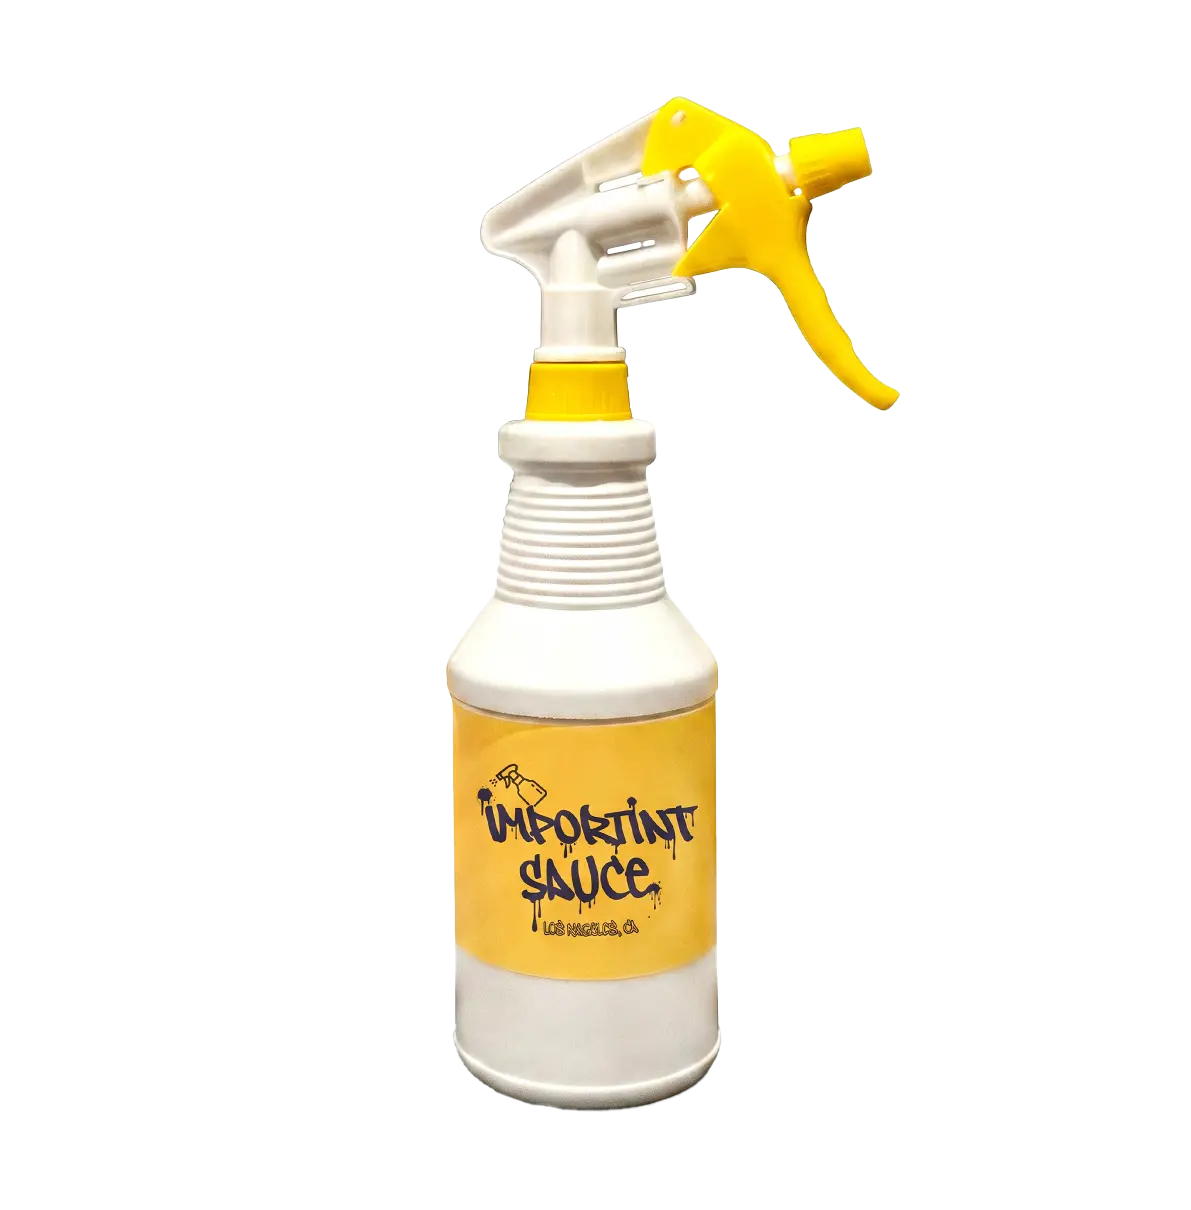 ImporTint SauceMakes edges grab — the go-to for dot-matrix borders.$30Shop →Tack Control
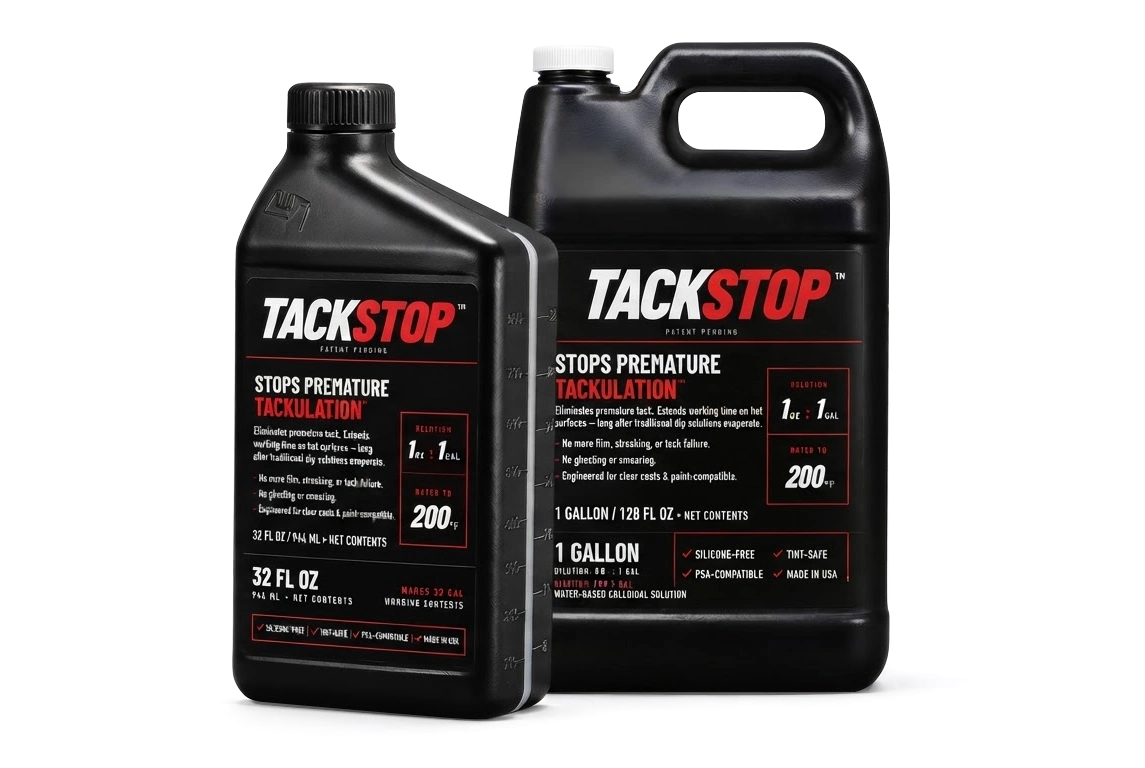 TackStop – Window Film Tack Control SolutionStops premature tack on hot glass — 3–5× more working time.$27Shop →
Stock the fluids that make installs bulletproof
Slip, tack, gel and tack-control solutions at dealer pricing, shipped nationwide.
Shop Install Solutions