



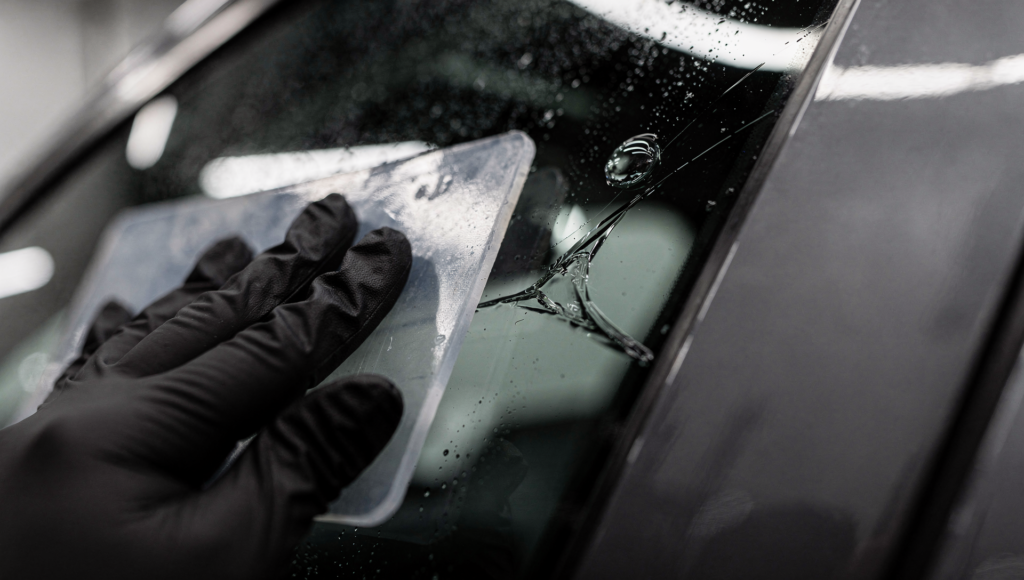
Every tint installer has pulled a panel and found a finger, a crease, or a line of silvering along the dot matrix. Most of these failures trace back to three things: contamination, the wrong install solution, or film that tacked before it was positioned. This guide walks through the most common window tint installation mistakes, why each one happens, and exactly how to fix — and prevent — them.
The quick version
- Fingers and bubbles are usually trapped solution or contamination — not “bad film.”
- Dot matrix silvering happens because film cannot grip the raised ceramic dots; a tack solution fixes it.
- Creases and tacking too fast are an evaporation problem — on hot glass you need more working time, not faster hands.
- Almost every defect on this list is prevented by prep plus the right install solution for the panel.
1. Fingers (film lifting away from the glass)
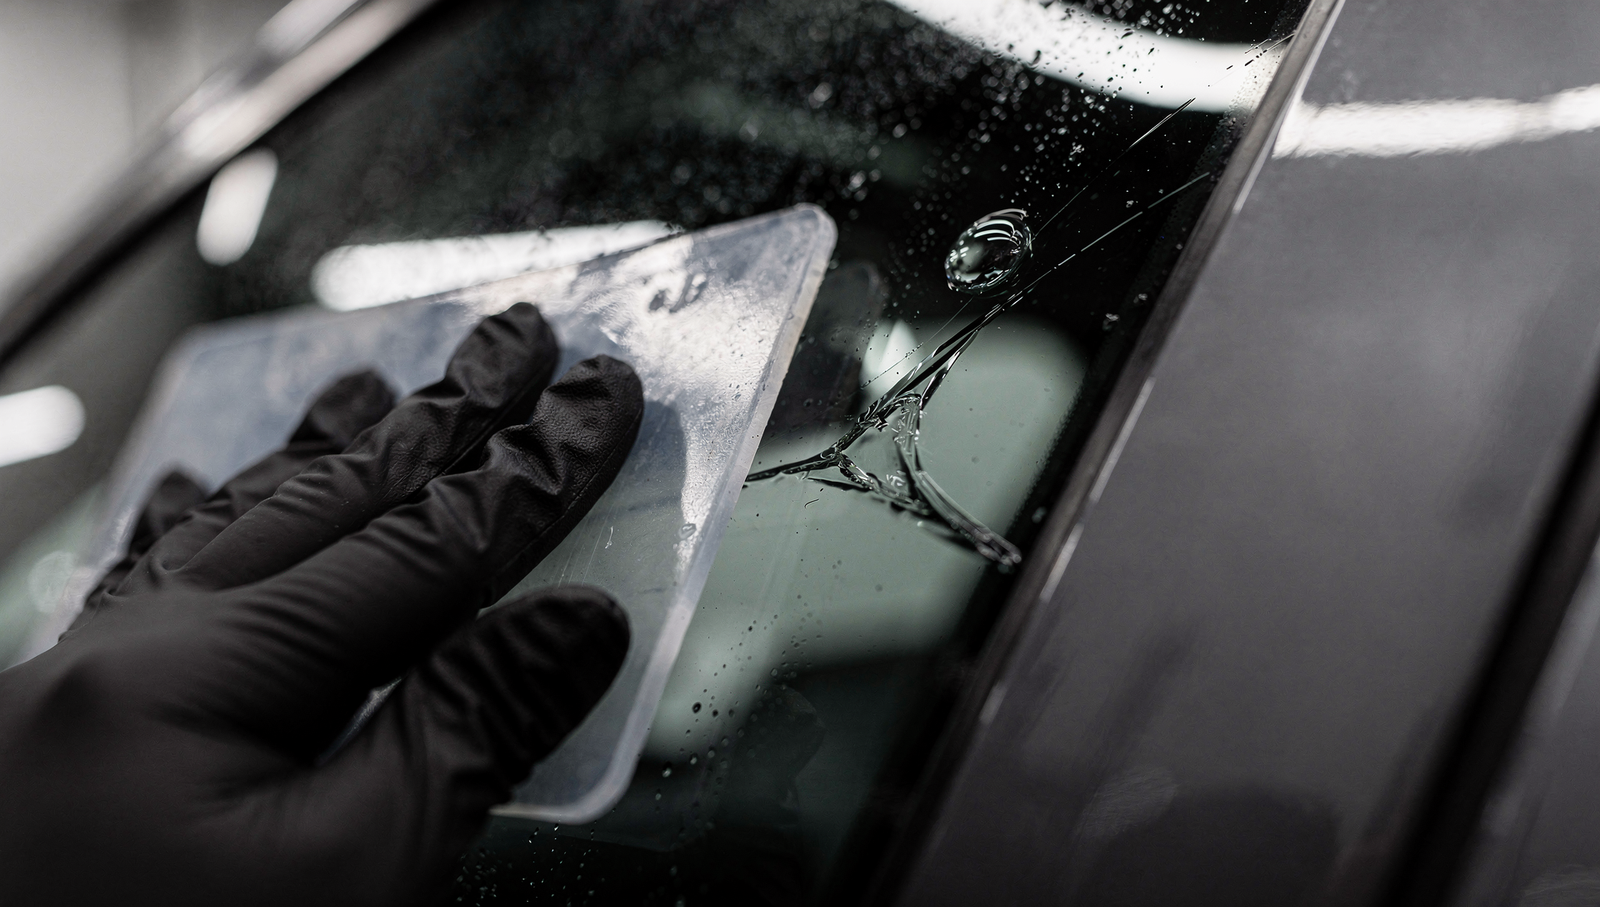
A “finger” is a narrow channel where the film has lifted off the glass, usually running from an edge inward. It is caused by trapped slip solution or a contaminant that stops the adhesive bonding evenly.
How to fix it
- Work the area with firm, overlapping squeegee passes from the centre outward, pushing solution to the nearest edge.
- If the film has already started to set, apply gentle heat to make it pliable before re-squeegeeing.
- A finger that will not clear usually has debris under it — lift, flush the panel, and relay rather than fighting it.
How to prevent it
Over-wet the glass, squeegee in a disciplined pattern, and finish the edges properly. Fingers near a seal or felt are often solution that was never pushed out — that is where a tack solution earns its keep, because it holds the edge instead of letting it float.
2. Bubbles (air and water)
Not all bubbles are equal, and the difference tells you whether to worry:
| Bubble type | When it appears | What it means |
|---|---|---|
| Water bubbles | First few days after install | Normal — residual solution still curing out. Usually clears on its own. |
| Air bubbles | Immediately, and they stay | Contamination or trapped air — needs to be worked out or relaid. |
| Bubbles months later | Long after install | Adhesive failure — typically cheap dyed film breaking down. |
If bubbles are still there after the cure period, they are not water. Check your prep and your glass cleaning, not the weather.
3. Dot matrix silvering and lift
The black ceramic dot band around the edge of rear and quarter glass is raised and textured, so film simply cannot make full contact with it. Where contact fails you get silvering — a white or metallic-looking strip — and eventually dirt creeps in and the edge lifts.
How to fix it
- Scrub the dot band thoroughly during prep; it traps more residue than flat glass.
- Apply a tack solution across the dot band rather than a thin slip solution, which simply runs off.
- Squeegee the band with a hard card and finish with heat to lock the film into the texture.
We cover this in depth in how to tint over dot matrix.
4. Film tacking before you can position it
On hot glass, in dry air, or with aggressive adhesives, the solution evaporates so fast that the film grabs before it is aligned. Fighting it usually creates creases. The real fix is more working time, which means slowing evaporation — not moving faster.
An evaporation-control additive such as TackStop buys 3–5× more working time on hot glass. See why tint tacks too fast on hot glass.
5. Creases
Creases happen when film that has already tacked gets pulled or repositioned. Once a crease is set in polyester film it is permanent — the panel has to be replaced. Prevention is the only real cure: keep the panel wet, keep working time on your side, and position before you commit pressure.
6. Contamination and dirt specks
The most common callback of all, and almost always a prep failure. Glass that looks clean still carries road film, glass cleaner residue and lint. Clean thoroughly, work in a controlled space, and keep your solution covered — an open bottle collects dust all day.
Quick diagnostic table
| Symptom | Most likely cause | Fix |
|---|---|---|
| Narrow channel from an edge | Trapped solution | Re-squeegee outward; heat if set |
| Small bubbles, first week | Normal curing | Leave it — it clears |
| White strip on the dot band | No tack on dot matrix | Tack solution + hard card + heat |
| Film grabs before aligned | Fast evaporation | Evaporation-control additive |
| Permanent fold line | Repositioned after tack | Replace the panel |
| Specks under film | Prep contamination | Re-clean and relay |
The solutions that prevent these problems
Purpose-built install chemistry, stocked for professional installers:
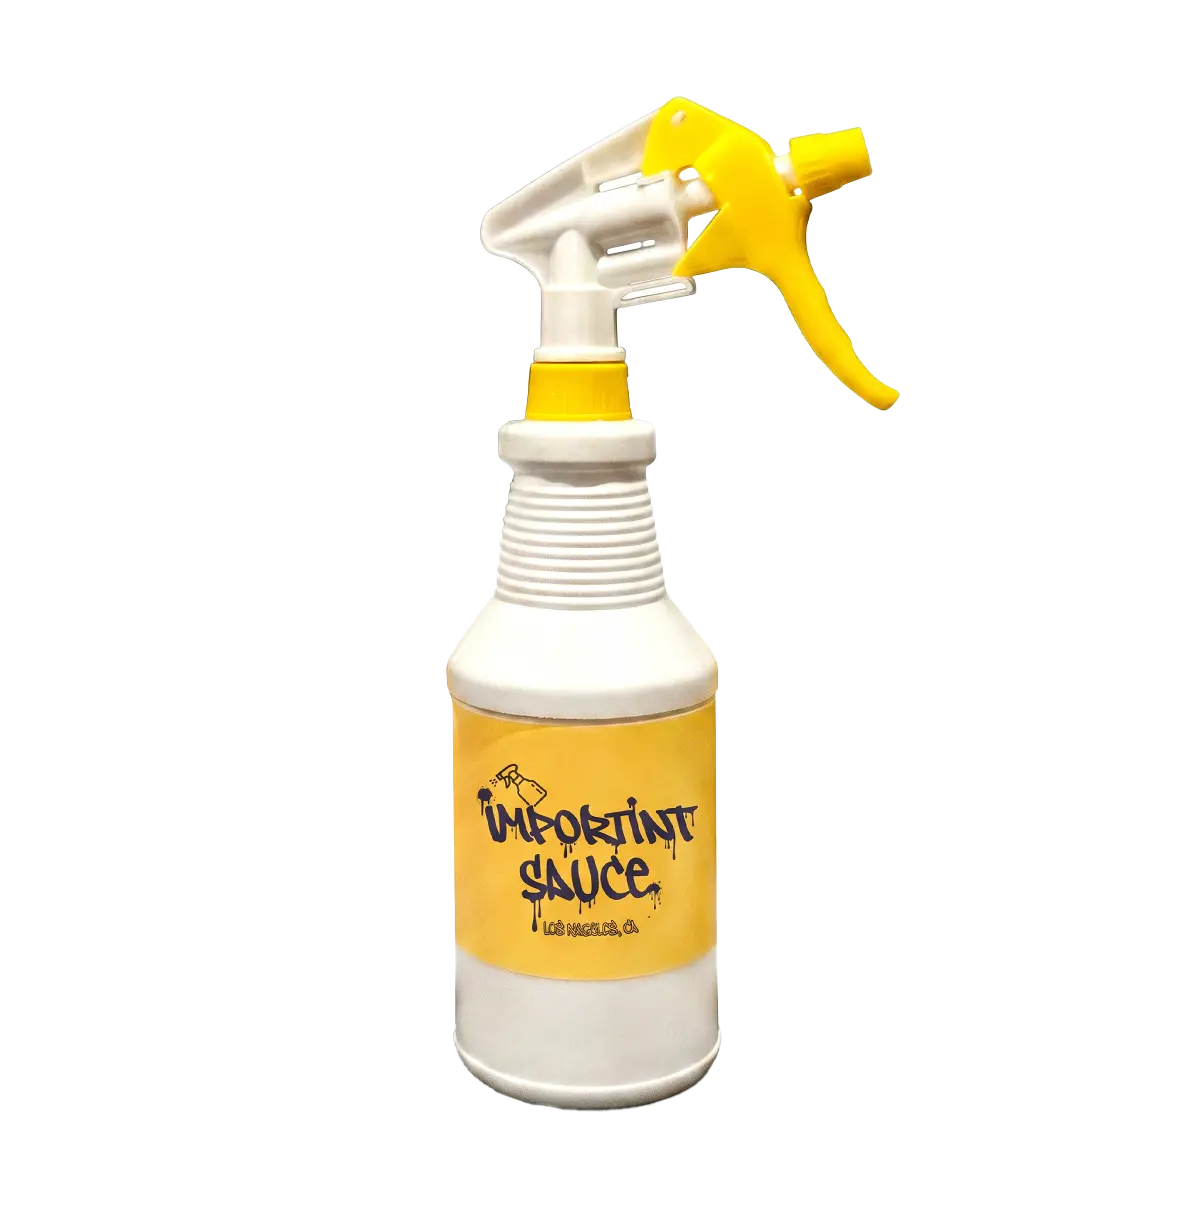 ImporTint SauceImporTint Sauce — locks film edges and dot matrix on the first pass.$30Shop →Tack Control
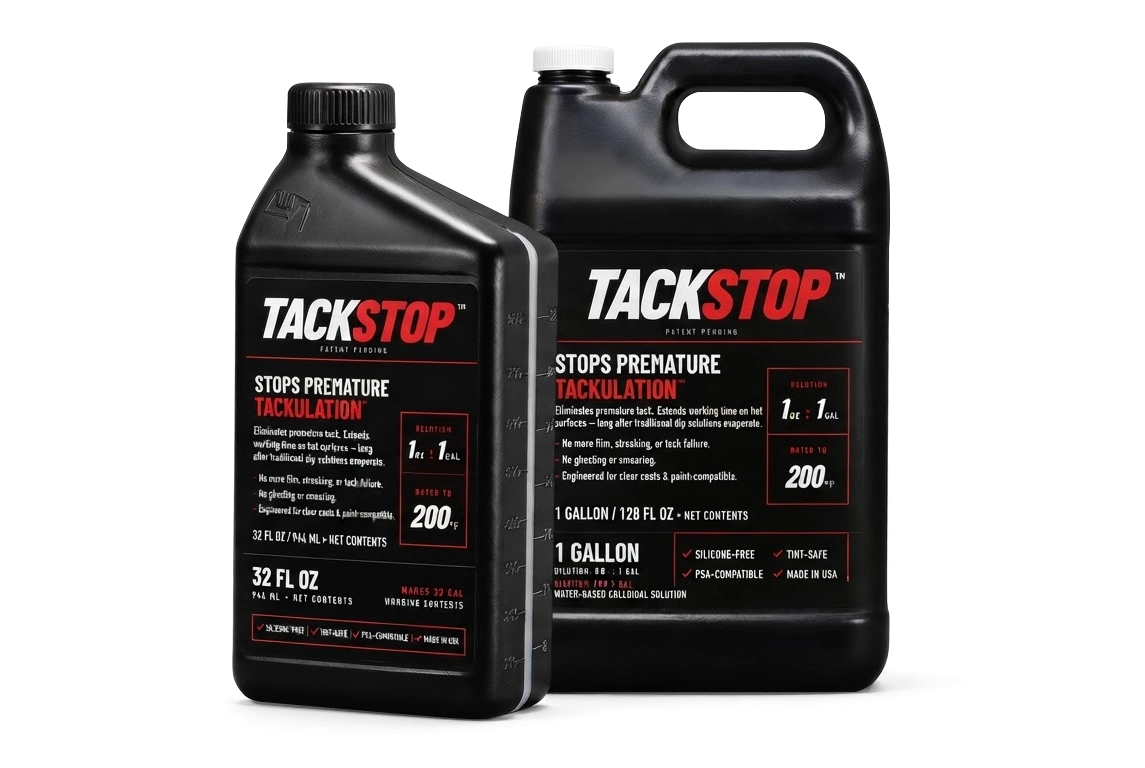 TackStop – Window Film Tack Control SolutionTackStop — add 1 oz/gal for 3–5× more working time on hot glass.$27Shop →Slip Solution
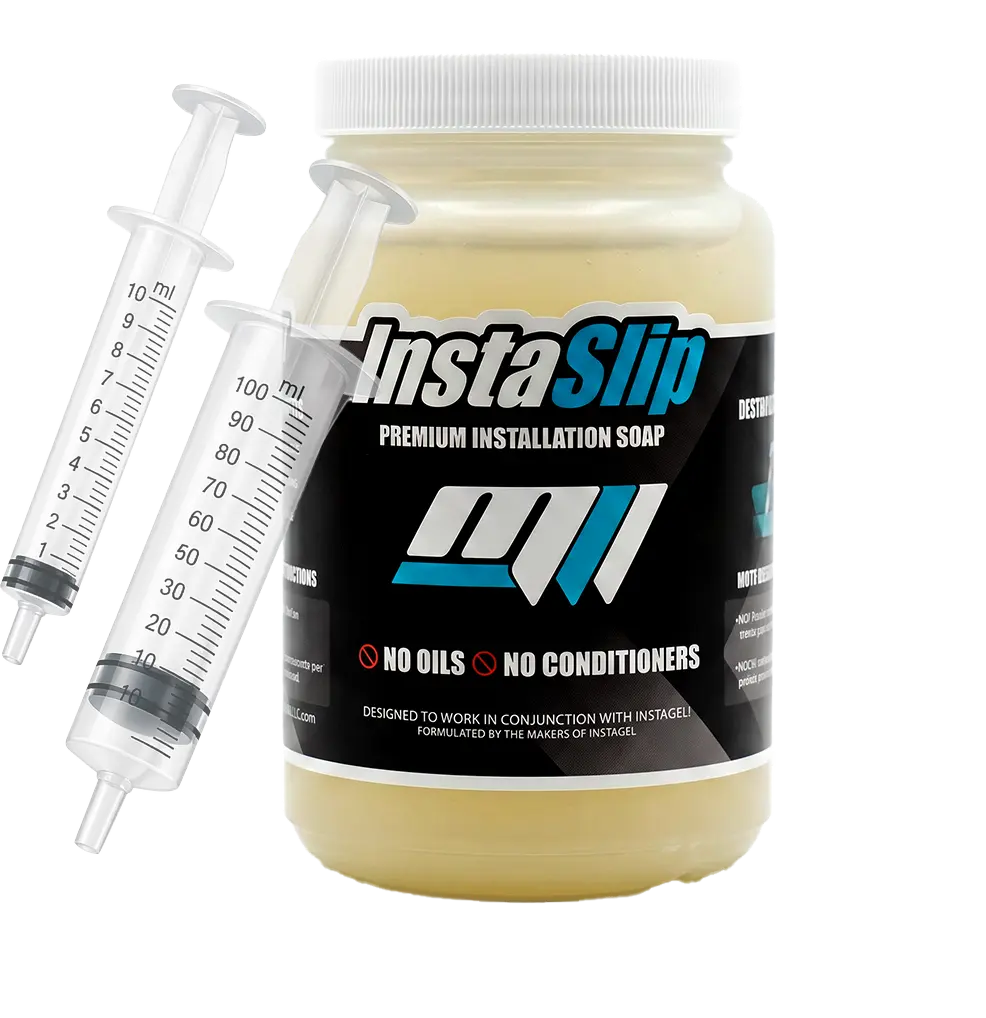 InstaSlipInstaSlip — oil-free, conditioner-free slip for tint and PPF.$23.99Shop →Install Gel
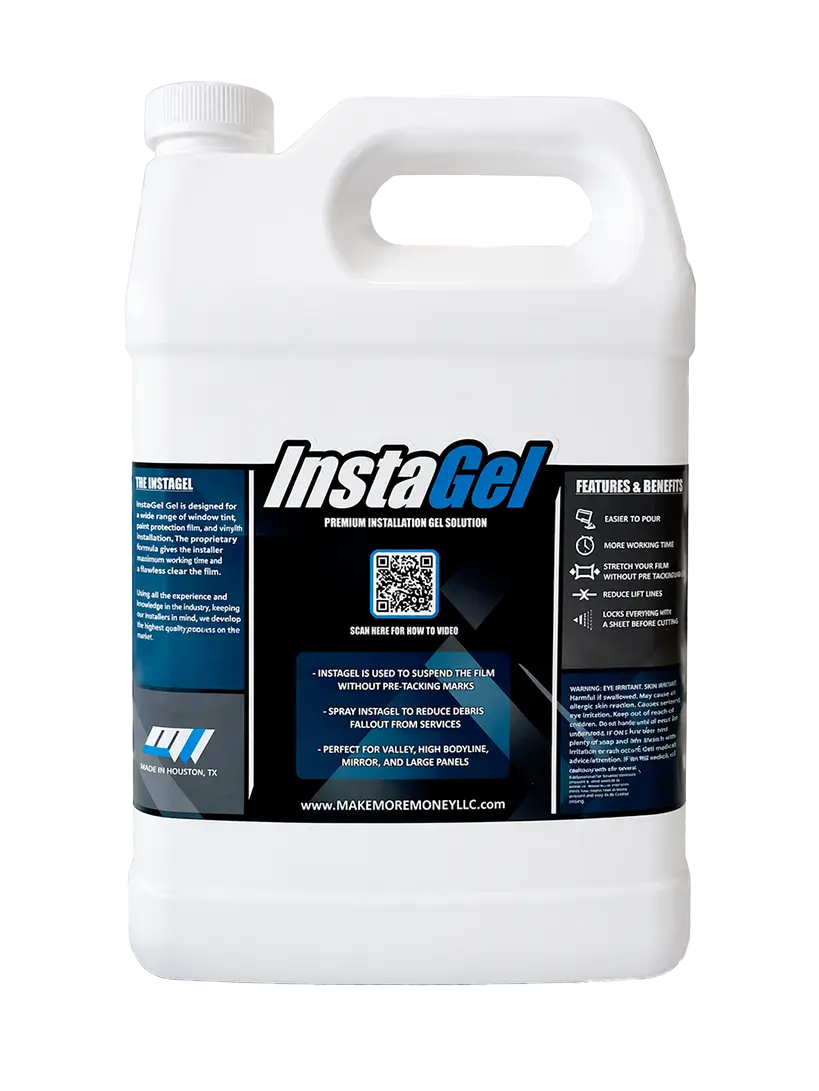 InstaGelInstaGel — controlled slip with tack for PPF panels and curves.$32Shop →
Window tint installation mistakes FAQs
Small water bubbles in the first few days are normal curing and clear on their own. Air bubbles that never go away mean contamination or trapped air and need the panel worked out or relaid.
Scrub the dot band during prep, then use a tack solution rather than a thin slip solution so the fluid stays on the band, and finish with a hard card and heat.
No. Once film is creased the fold is permanent and the panel must be replaced, which is why keeping enough working time to position the film matters so much.
The solution is evaporating too quickly — common on hot glass and in dry air. An evaporation-control additive slows that down and restores working time.
Fingers are channels where film lifted off the glass, caused by trapped slip solution or contamination stopping an even adhesive bond.
Stock the solutions that prevent callbacks
Professional tack, slip and gel install solutions at wholesale dealer pricing.
Shop Install Solutions