




Installing paint protection film the right way is what separates a lifetime-warranty job from a bubbled, lifting mess. Whether you are a new installer building your skills or a detail shop training staff, this step-by-step PPF installation guide walks through the professional process — prep, positioning, squeegee, edges, and heat — using the exact slip and tack solutions the pros rely on.
The quick version
- The pro sequence: prep → cut pattern → slip solution → squeegee out → lock edges → heat.
- Core kit: gel-edge squeegee, sharp hook blade, tucking tool, variable heat gun, quality slip or gel.
- Too little slip solution is the #1 cause of bubbles — keep the panel wet as you work.
Everything referenced here is stocked by Pioneers Distribution at wholesale. New to the tools? Start with our PPF & window tint installation tools guide, then follow the steps below.

What you need before you start
A professional PPF install needs the right tools and, just as importantly, the right fluids. Here is the minimum kit:
| Item | Purpose | Pioneers product |
|---|---|---|
| Slip solution | Position the film before squeegeeing | InstaSlip |
| Installation gel | Extra controlled slip on large panels | InstaGel |
| Tack / edge control | Lock and hold film edges down | TackStop |
| Squeegees & blades | Push out fluid, trim film cleanly | Tools category |
| Quality TPU film | The protection layer itself | NanoTek & NANOlink PPF |
How to install paint protection film: step by step
Step 1 — Decontaminate and prep the paint
Wash, clay, and IPA-wipe the panel until it is perfectly clean. Any dust, wax, or residue trapped under the film shows forever. Work in a clean, dust-controlled space out of direct sun.
Step 2 — Cut or plot your pattern
Use a pre-cut software pattern (plotter) for a factory fit, or hand-cut on the panel with a sharp blade if you are experienced. Pre-cut kits reduce risk of scoring the clear coat.
Step 3 — Spray slip solution and position the film
Mist the panel and the adhesive side generously with InstaSlip slip solution so the film floats and slides into position. For large one-piece panels like a full hood, InstaGel gives more controlled slip with no lift lines. This is the step where most amateurs fail — too little fluid and the film grabs and traps bubbles.
Step 4 — Squeegee out the slip solution
Starting from the center, squeegee the fluid outward in firm, overlapping strokes. Keep the surface wet with slip solution as you work so the squeegee glides without scratching. Chase out every bubble and pocket of water to the nearest edge.
Step 5 — Tuck and lock the edges
Wrap edges into panel gaps with a tucking tool for an invisible finish. Edges are where film lifts first, so lock them with a tack solution and use TackStop to control adhesion on stubborn borders. Over dot-matrix and textured areas, ImporTint Sauce helps edges grab.
Step 6 — Activate the top coat with heat
Warm the film with a heat gun to help it conform to curves and to activate the self-healing top coat on premium films. Do a final inspection under bright light for any trapped water or lifted edges.
Common PPF installation mistakes to avoid
- Not enough slip solution — film grabs and bubbles
- Dirty prep — contaminants trapped under the film
- Dull blades — scored clear coat and torn film edges
- Skipping edge lock — film lifts within weeks
- Installing in direct sun or a dusty space
The install solutions
Match the fluid to the job — most pro shops keep all four on the shelf:
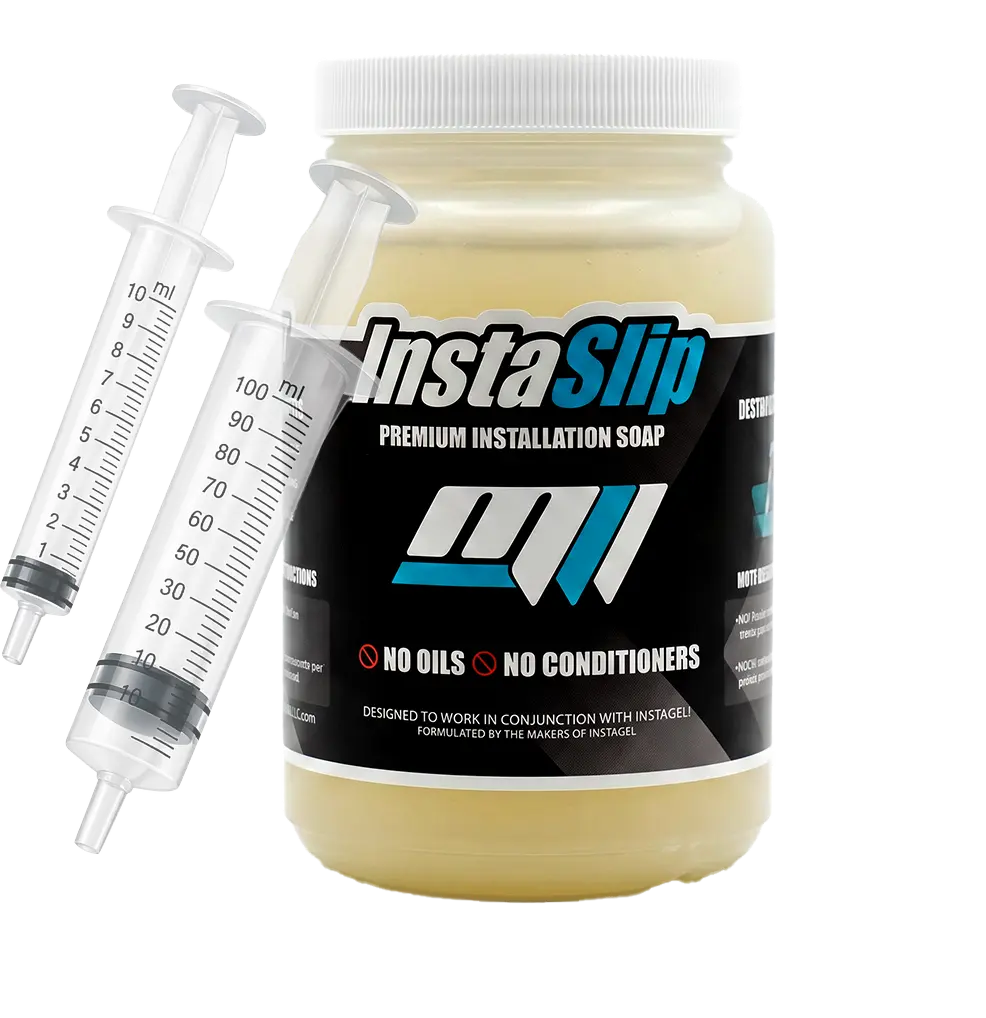 InstaSlipOil-free slip — slide film into position, flush clean, zero residue.$23.99Shop →Installation Gel
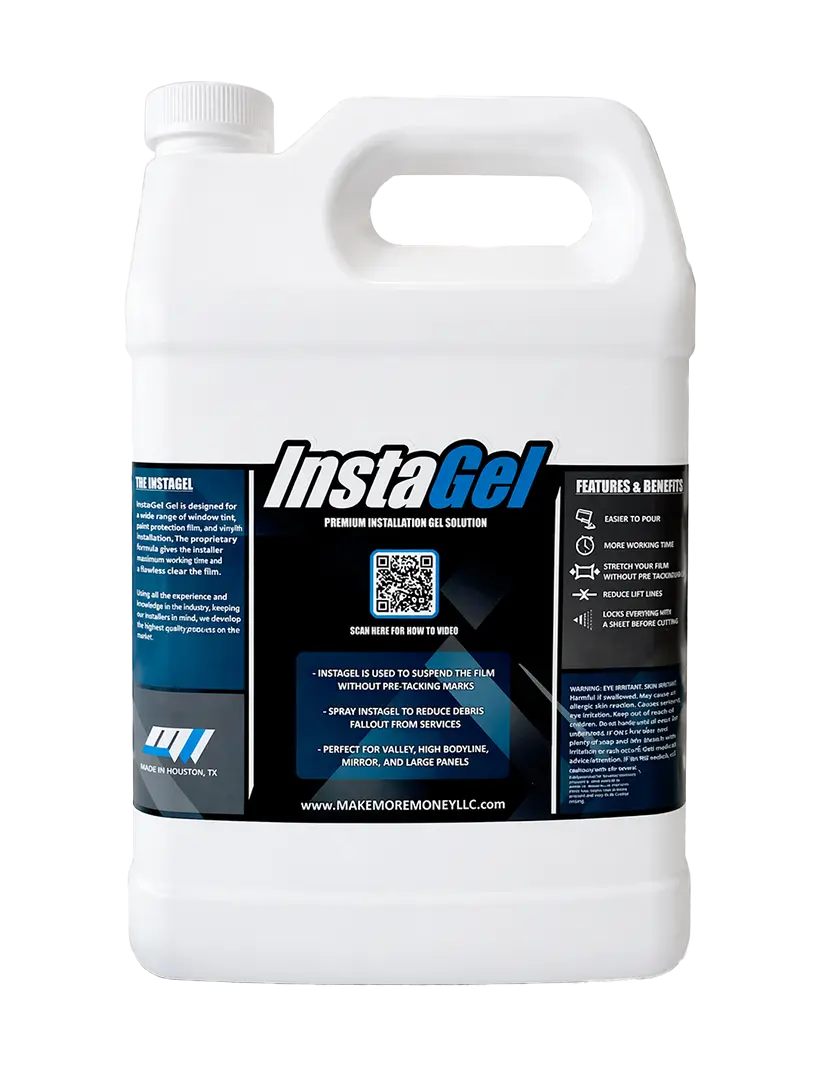 InstaGelControlled slip for big PPF panels — no silvering, no lift lines.$32Shop →Tack Solution
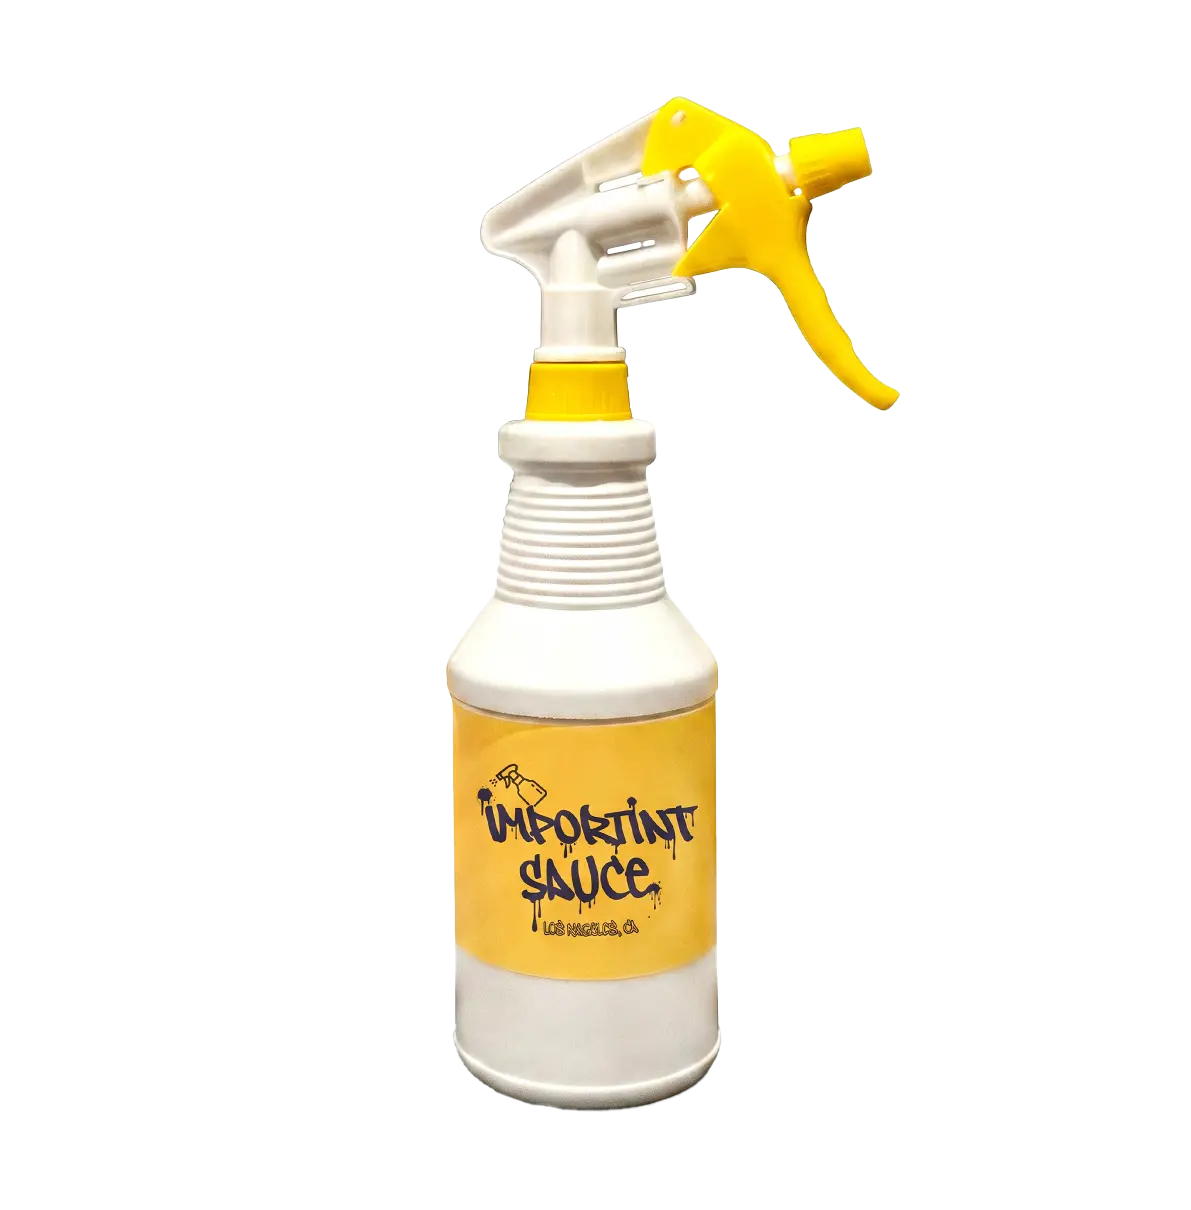 ImporTint SauceMakes edges grab — the go-to for dot-matrix borders.$30Shop →Tack Control
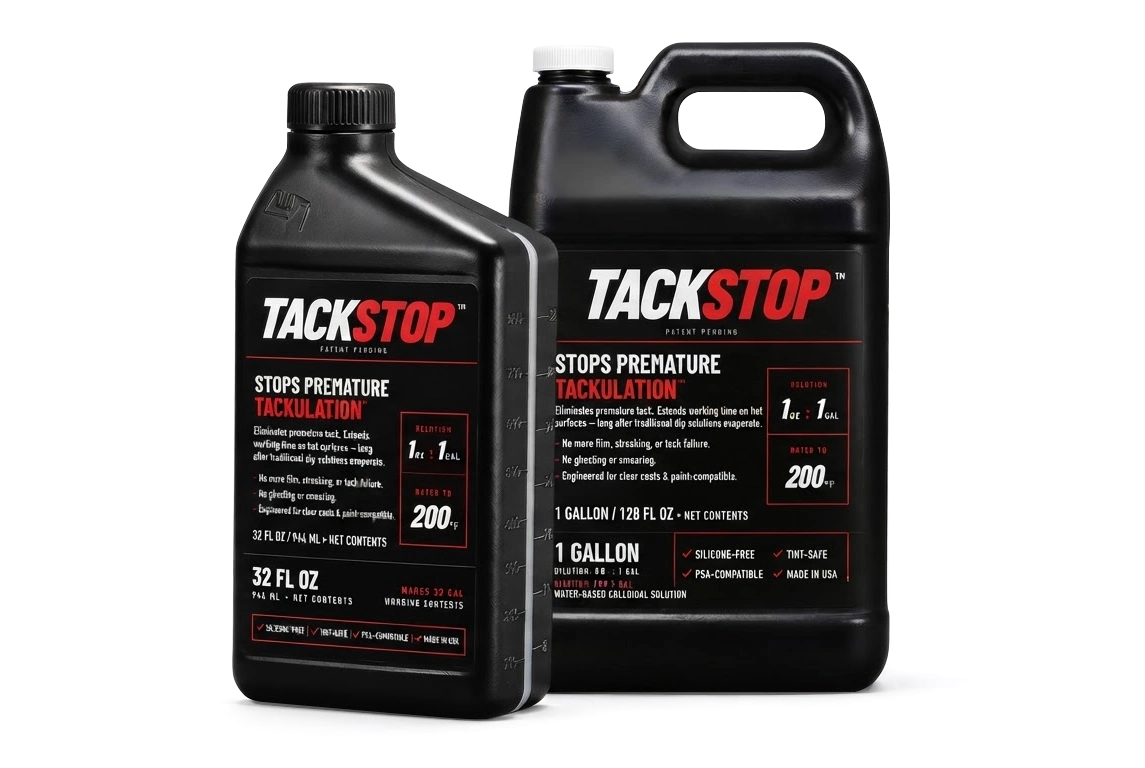 TackStop – Window Film Tack Control SolutionStops premature tack on hot glass — 3–5× more working time.$27Shop →
PPF installation FAQs
Partial kits (like a hood or bumper) are doable for a careful DIYer with the right slip solution and a plotter pattern. Full-body wraps are best left to trained installers — the film, fluids, and technique all matter.
A partial front takes a few hours; a full-body install can take 1–3 days for a professional. Rushing the prep or squeegee stage is the fastest way to get bubbles.
Yes. Slip solution lets you position the film before it bonds. Household substitutes like baby shampoo are inconsistent and can weaken adhesion — a purpose-made solution like InstaSlip gives repeatable results.
Keep the panel wet with slip solution, squeegee firmly from the center outward, and chase every pocket of water to an edge. Trapped water dries out over a day or two if fully squeegeed.
Yes — quality film removes cleanly with heat. See how to remove PPF for the safe method.
Get install-ready at wholesale
Pioneers Distribution supplies the films, slip solution, install gel, and tools that make PPF installs bulletproof. Compare film finishes in our types of paint protection film guide, or stock up now.
Get install-ready at wholesale
Films, slip solution, gel and the tools that make PPF installs lift-free.
Shop Tools & Solutions