



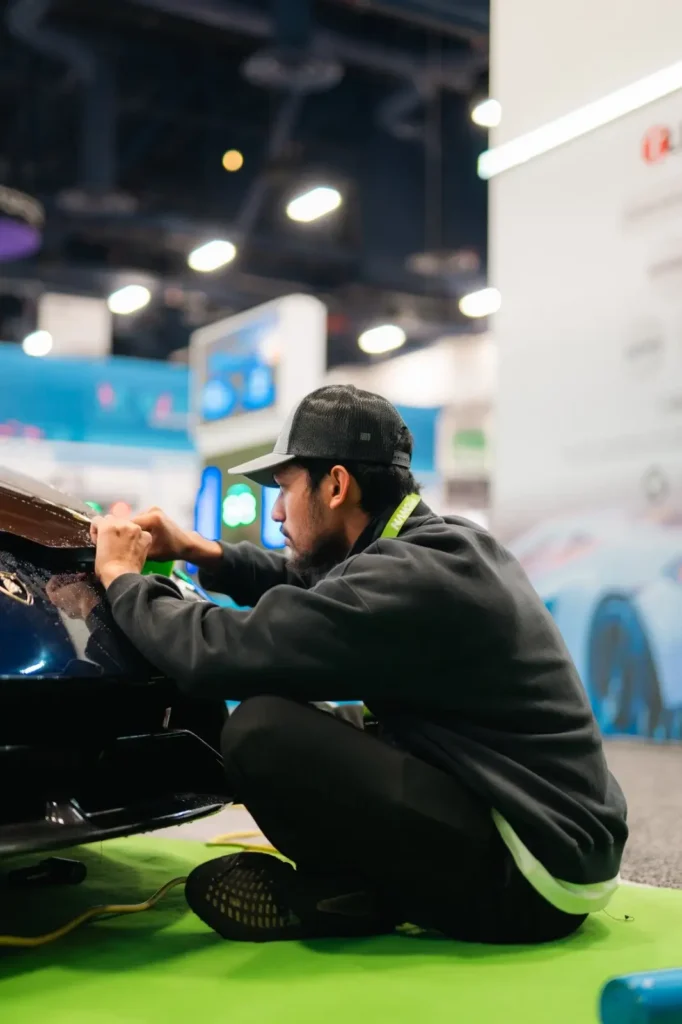
Paint Protection Film (PPF) has become increasingly popular among car enthusiasts and everyday drivers alike, offering a reliable solution to protect vehicles from scratches, chips, and environmental damage. However, the success of PPF installation hinges on several critical factors. Here are the key considerations to ensure a flawless application and long-lasting tips protection for your vehicle.
1. Choose the Right Film
The first step in a successful PPF installation is selecting the appropriate film. Not all PPFs are created equal, so consider the following:
- Thickness and Durability: Thicker films typically offer better protection against impacts and abrasions. Look for films that are at least 8 mils thick.
- Self-Healing Properties: Some advanced PPFs have self-healing technology, allowing minor scratches to disappear when exposed to heat.
- Clarity and Gloss: Opt for a film that maintains the vehicle’s aesthetics. High-quality films offer excellent clarity and a glossy finish that enhances the car’s appearance.
| Find the best PPF installer |
2. Professional Installation vs. DIY
While DIY kits are available, professional installation is often recommended for the best results. Professional installers have the experience, tools, and expertise to:
- Ensure precise measurements and cuts.
- Handle complex curves and edges with finesse.
- Reduce the risk of air bubbles, wrinkles, and misalignment.
If you choose to go the DIY route, ensure you have the right tools and take your time for a meticulous application.
3. Surface Preparation
Preparation is crucial for a successful PPF installation. Follow these steps:
- Thorough Cleaning: The vehicle’s surface must be clean and free of contaminants like dirt, wax, and oils. Use a quality car wash and detailing products to achieve a spotless surface.
- Paint Inspection: Check for imperfections such as scratches or swirls. Any flaws in the paint can affect the adhesion of the film.
- Drying: Ensure the surface is completely dry before applying the film to avoid trapping moisture underneath.
4. Environmental Conditions
The environment in which the installation takes place can significantly affect the outcome. Consider these factors:
- Temperature: Ideal conditions are typically between 60°F and 80°F (15°C to 27°C). Avoid installation in extreme temperatures, as this can affect the film’s adhesive properties.
- Humidity: Low humidity levels are preferable, as high humidity can lead to condensation and interfere with adhesion.
5. Application Techniques
Proper application techniques are essential for a successful installation. Here are some tips:
- Use a Solution: Applying a slip solution (water mixed with a few drops of soap) can help reposition the film during installation.
- Work Slowly and Methodically: Take your time to ensure each section is applied evenly and without air bubbles.
- Squeegee Technique: Use a squeegee to push out air and water from under the film, starting from the center and working outward.
6. Post-Installation Care
After installation, proper care is vital to ensure the longevity of the PPF:
- Curing Time: Allow the film to cure properly as per the manufacturer’s recommendations. This may take up to 48 hours.
- Avoid Washing: Refrain from washing the vehicle for at least a week after installation to allow the adhesive to set.
- Regular Maintenance: Use gentle, pH-balanced soaps and avoid abrasive materials to maintain the film’s appearance and effectiveness.
7. Warranty and Support
Finally, consider the warranty offered by the PPF manufacturer. A good warranty can provide peace of mind and protect your investment. Additionally, choose an installer who provides ongoing support and maintenance advice.
Installing Paint Protection Film can be a game-changer for your vehicle’s appearance and longevity. By considering these key factors, you can ensure a successful installation that keeps your car looking pristine for years to come. Whether you opt for professional installation or take on the challenge yourself, attention to detail and proper techniques will lead to the best results. Protect your investment and enjoy the peace of mind that comes with knowing your vehicle is shielded from the elements
For a complete overview of paint protection film, see our PPF Ultimate Guide.
PPF Installation on Hatchbacks: Key Differences
Hatchback vehicles present specific challenges that sedans and SUVs don’t. The steeply raked rear glass, large rear hatch panels, and tight roofline transitions require additional planning during PPF installation.
- Large rear hatch panel — Prone to water pockets during installation. Use slip solution generously and work from the center outward, pushing trapped fluid to the edges before the film tacks down.
- Around the rear wiper — Remove the wiper arm before wrapping if possible. If not, cut precisely around it and heat-seal the edges thoroughly to prevent long-term lifting at that point.
- C-pillar to roofline transition — Hatchbacks have a tight radius at this junction. Use 60″ wide film for seamless single-piece coverage and avoid seams in high-visibility areas.
- Boot/hatch bottom edge — A high-contact area every time the hatch opens. Wrap the film slightly underneath the edge and heat-seal firmly for long-term adhesion.
- Rear diffuser and lower bumper — Take extra time masking the lower bumper edge; stone chips accumulate here more than on any other panel on hatchbacks.
For hatchback installs, 30″ and 60″ wide rolls of NanoTek Prime or Diamond PPF give you the most flexibility for full-panel coverage without mid-panel seams.